
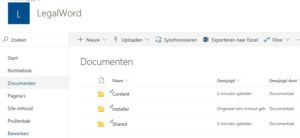
Within your SharePoint environment, a dStyle (or LegalWord) site is created. Here the folders Content, Shared and Installer are created by Documentaal. The folders contain:
- Content – text fragments, models and other company data
- Shared – configuration of dStyle (or LegalWord) for your office
- Installer – *.msi and installation manual
Synchronize dStyle (or LegalWord) files
To be able to use dStyle (or LegalWord) anywhere, even if there is no internet connection, these 3 folders have to be placed locally using the Sharepoint synchronization button. The folders are then available locally, but remain linked to the central source (Sharepoint).
- Open the Content folder and click the Synchronize button at the top of the Sharepoint bar.

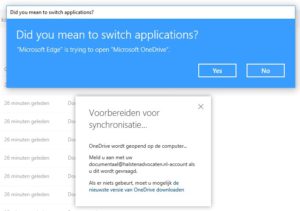
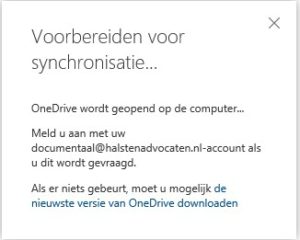
- Sharepoint starts preparing for synchronization via OneDrive and requests permission to do so. Click on the Yes button.
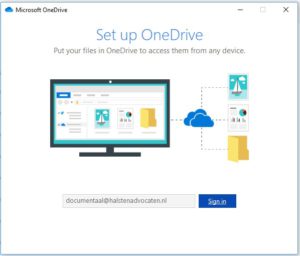
- Log in with your SharePoint account and click on the Sign in button.
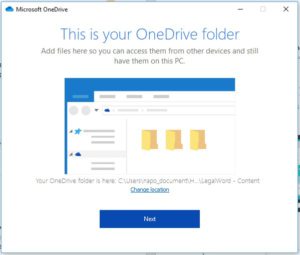
- If necessary, adjust the location for the synchronized folder and then click the Next button.
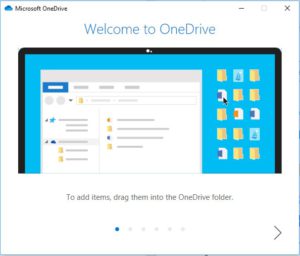
- An instruction on how to use OneDrive and synchronized folders will then appear. You can close this instruction with the cross at the top right of the screen.
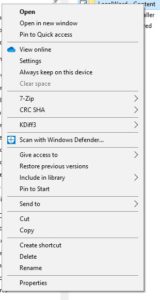
- The Windows explorer will open and the dStyle (or LegalWord) – Content folder will be visible at the chosen location. Set the folder so that it is always available. In Windows Explorer, right-click on the Content folder and choose ‘Always keep on this device’. The cloud behind the folder changes to a green check mark.

- In Sharepoint, the synchronization screen remains visible. Click on the cross in the upper right corner to close the screen.
Repeat steps 1, 2, 6 and 7 for the Shared and Installer folders. Steps 3 to 5 are skipped because the login details are known.
Installing dStyle (or LegalWord)
- In Windows Explorer, open the dStyle (or LegalWord) – Install folder and double-click the *.msi. The installation wizard starts. Click on the button Next.
- Leave the ‘Everybody’ option checked and click the Next button again.
- Check the option ‘I accept the terms in the License Agreement’ and click the Next button again.
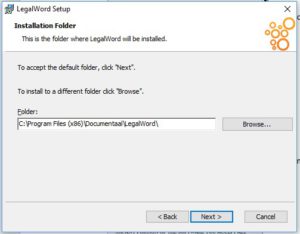
- The location where dStyle (or LegalWord) installed is displayed. Click the Next button.
- Check the second option ‘Install the shared documents folder to a custom directory’. Go to the Windows Explorer and open the Shared folder. Select the path at the top of the screen, copy it and paste it into the installation wizard. Repeat this for the Content folder. Click on the button Next.
- Uncheck the options ‘Outlook’, ‘Powerpoint’ and ‘Excel’ and click on the button Next.
- dStyle (or LegalWord) is now ready to be installed. Click on the Install button to start the installation.
- When the installation is finished, the last screen of the installation wizard appears. Click on the Finish button to close the wizard.
Control installation and set favorite profiles
- Open Microsoft Word. If the installation ofdStyle (or LegalWord) went well, dedStyle (or LegalWord) ribbon will be displayed. Click the New button to create a document.

- dStyle (or LegalWord) always needs a profile to create a document. The profiles of all employees in your organization are already included in dStyle (or LegalWord). When creating a new document, you can choose which profile you want to use. By setting favourite profiles, you will not see all the profiles, but only those that are important to you. In the Favourite Profiles screen, all profiles are shown on the left. Move the profiles of the employees for whom you create documents to the right. When creating a document, only the profiles on the right will now be displayed. Which profiles are favourite can of course be adjusted by you at any time.
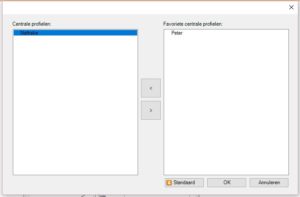
Create the profile you use most often Default by selecting the profile and clicking the Default button.